| Effect |
Plugin |
| B&W,
Filtered |
Color Effects |
| Response
Curve |
Levels
& Balances |
| Glow |
Glows
& Blurs |
| Dark
Corners |
Scratch & Dirt |
| Flicker |
Scratch & Dirt |
|
Silent Film Look
|
iMovie Tutorial 6 |
| Effect |
Plugin |
| B&W,
Filtered |
Color Effects |
| Response
Curve |
Levels
& Balances |
| Glow |
Glows
& Blurs |
| Dark
Corners |
Scratch & Dirt |
| Flicker |
Scratch & Dirt |
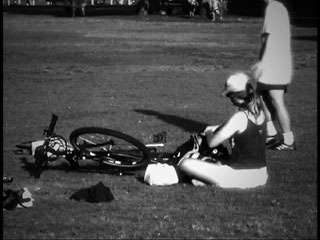
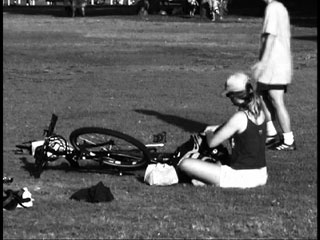
| This
tutorial shows how to make a clip look like a Charlie Chaplin era
silent
film. It uses multiple effects, applied one after another, to
give
the final look. We assume that you have read Tutorial #3, and are familiar with the idea of building a look by applying multiple effects one after the other. |
| Steps |
 |
||
|
 |
||
|
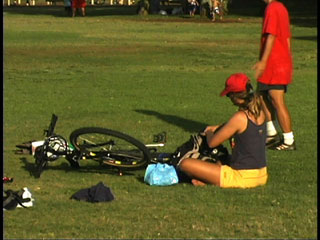 |
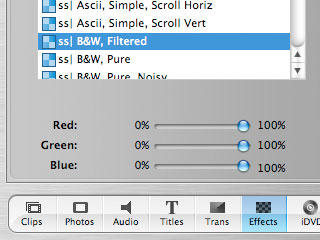
| The first step is to turn
the clip into black and white. There are a number of effects
which can do this. We choose one which allows for tweaking of the
final black and white intensities. See the variations section for
other options. |
 |
||
|
 |
||
|
 |
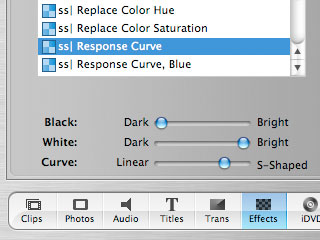
| The next step is to increase
the contrast of the clip, making the blacks darker and the whites
brighter. See the variations section below for a selection of
effects which can do this. |
 |
||
|
|
||
|
 |
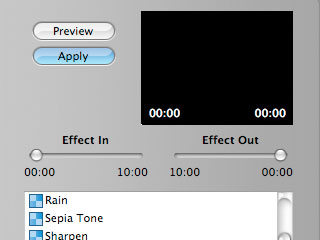
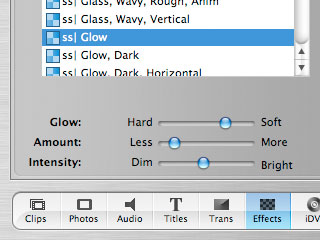
| Now we add a small amount of
glow to the clip. We want the white areas of the image to glow a
little bit, but keep the rest of the image as is. |
 |
||
|
|
||
|
 |
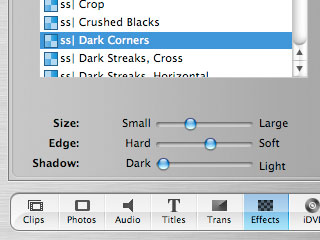
| Old cameras often produced
uneven exposure across the frame, especially leaving the corners of the
image dark. The idea here is to darken the corners slightly,
without making it too noticeable. |
 |
||
|
|
||
|
 |
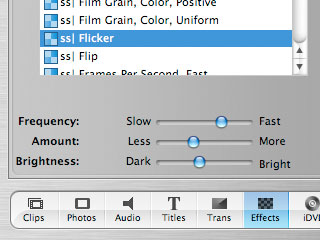
| Finally, we add some flicker
to the clip. Being hand-cranked, the cameras of the time produced
slightly different exposures for each frame. This effect is very
important in giving that "old time" look to clips. |
 |
||
|
|
||
|
|
| Variations |
| FIn several of the steps
above, there are a variety of effects which will accomplish the desired
look. We encourage you to try them out and see what different
looks they can produce. To convert a color clip into black and white:
To adjust the contrast of a clip:
To add a glow or glow-like effect to a clip:
An important thing to keep in mind is that we are going for a certain artistic look. There is no such thing as the correct answer, so it is a good idea to become familiar with these effects and investigate how they can be combined to produce interesting visual styles. |